
Sealing a wooden dog bowl stand is the single most effective way to protect the wood from moisture damage, warping, and bacterial buildup while keeping your pet safe at every meal. The process, known in woodworking as surface finishing or wood impregnation, involves applying food-safe coatings like polyurethane, natural oils, or LFGB-certified sealants to create a waterproof barrier. Done correctly, a sealed dog bowl stand lasts years longer than an untreated one and stays far easier to clean. This guide covers every step, from choosing the right finish to maintaining your stand over time.
What tools and materials do you need to seal a wooden dog bowl stand?
Gathering the right supplies before you start makes the entire process cleaner, safer, and more effective. The core materials fall into two categories: surface preparation tools and the sealant itself.
Surface preparation supplies:
- 120-grit and 220-grit sandpaper or a sanding block
- Tack cloth or a lint-free rag to remove dust
- Painter’s tape to protect any hardware or rubber feet
- Nitrile gloves and a respirator mask for ventilation protection
Sealant options for pet-safe finishing:
- Polyurethane (water-based): Dries clear, hard-wearing, and widely available. Water-based versions off-gas less than oil-based.
- Natural oils (tung oil, linseed oil): Eco-friendly and food-safe when fully cured, though they offer less water resistance than polyurethane.
- Epoxy resin: Extremely durable and waterproof, but requires precise mixing and longer cure times.
- LFGB-certified impregnates: The gold standard for pet feeders. LFGB certification confirms the finish is approved for animal feeding surfaces, not just decorative use.
Choosing the right finish depends on where the stand lives. Indoor stands in low-humidity kitchens do well with water-based polyurethane or tung oil. Stands placed on patios or in humid laundry rooms need a more aggressive barrier like epoxy or a multi-layer LFGB-certified sealant.
| Finish | Drying time | Durability | Food-safe when cured |
|---|---|---|---|
| Water-based polyurethane | 2 hours per coat | High | Yes |
| Tung oil | 24 hours per coat | Medium | Yes |
| Epoxy resin | 12-24 hours per coat | Very high | Yes (after full cure) |
| LFGB-certified impregnate | Varies by product | High | Yes (certified) |
Pro Tip: For indoor wooden dog bowl holders, water-based polyurethane gives you the best balance of durability and low odor. For outdoor or high-moisture environments, choose a certified epoxy or LFGB-approved impregnate.
How do you seal a wooden dog bowl stand step by step?
The sealing process has six distinct phases. Skipping any one of them reduces the protection the finish provides and can leave the wood vulnerable to water damage right where it matters most.
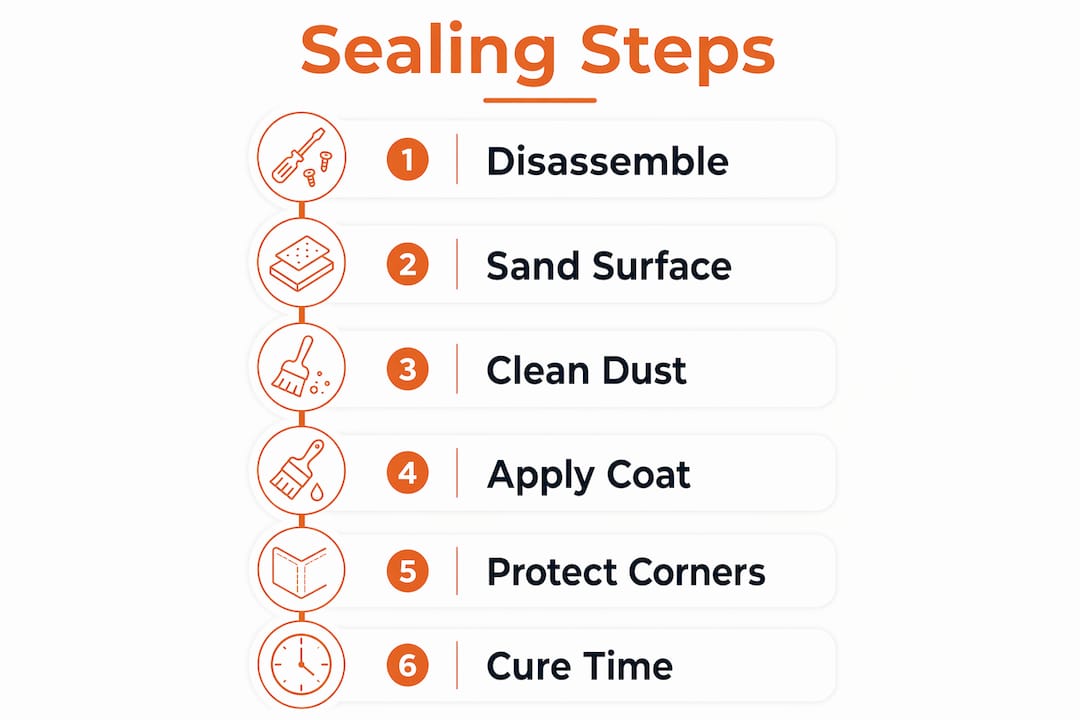
1. Disassemble the stand Remove all bowls, rubber feet, and any metal hardware before you begin. Sealant applied over hardware traps moisture underneath and causes rust or wood rot over time.
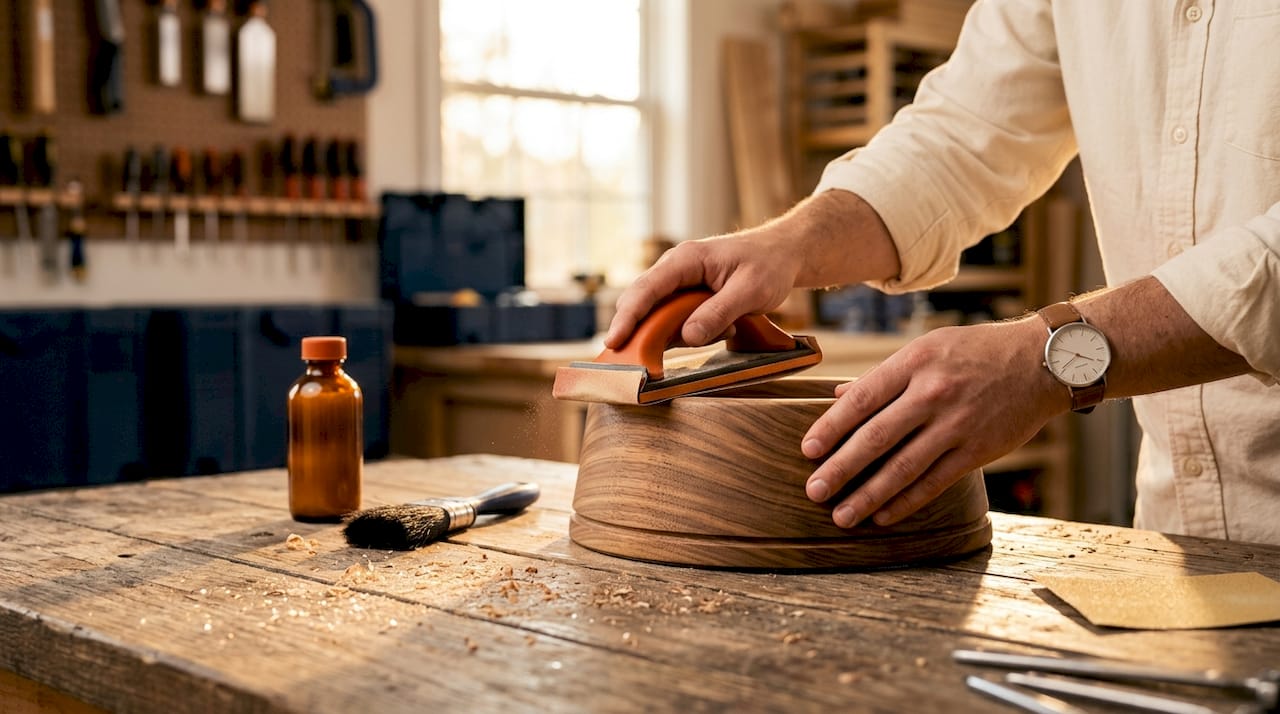
2. Sand the entire surface Start with 120-grit sandpaper to smooth rough grain, then finish with 220-grit for a fine surface that accepts sealant evenly. Sand in the direction of the wood grain. Sanding against the grain creates micro-scratches that show through clear finishes.
3. Clean off all dust Wipe the stand thoroughly with a tack cloth. Any dust left on the surface gets sealed into the finish and creates a rough, uneven texture. Let the wood sit for 15 minutes after wiping to confirm it is fully dry.
4. Apply the first coat Use a high-quality natural bristle brush or a foam applicator. Apply thin, even strokes. Thin coats dry faster and bond better than thick ones. Multiple sealed layers are the standard for pet-safe finishes, with three coats being the minimum for reliable moisture protection.
5. Focus on corners, edges, and joints Water penetrates sealed stands most aggressively at joints, corners, and hardware areas rather than flat surfaces. Apply an extra coat to these zones on every pass. This is the step most DIYers skip, and it is the most common reason a sealed stand fails within the first year.
6. Sand lightly between coats and repeat Once each coat dries fully, lightly sand with 220-grit paper to remove any raised grain or brush marks. Wipe clean, then apply the next coat. Repeat for a minimum of three coats total.
Common mistakes to avoid:
- Applying thick coats to speed up the process. Thick coats bubble, peel, and trap solvents.
- Using the stand before the finish has fully cured. A dry surface is not a cured surface.
- Skipping the between-coat sanding. This step is what creates a glass-smooth, professional result.
- Sealing over damp wood. The wood must be completely dry before any finish goes on.
Pro Tip: Polyurethane requires about one month to fully cure, even though it feels dry to the touch within hours. Keep your dog away from the stand during this curing window. The risk is greatest during solvent evaporation, not after the finish hardens.
How do you choose the best sealed dog bowl stand design?
A well-sealed wood surface is only part of the equation. The design of the stand itself determines how much moisture ever reaches the wood in the first place.
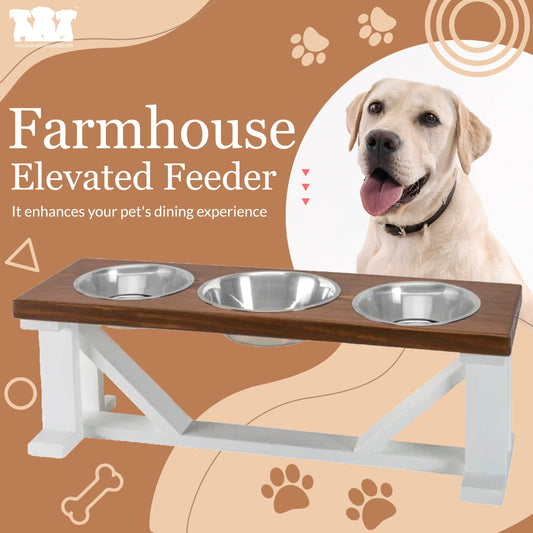
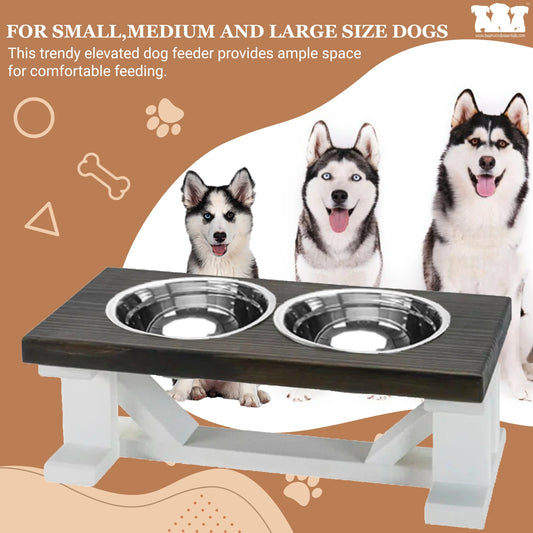
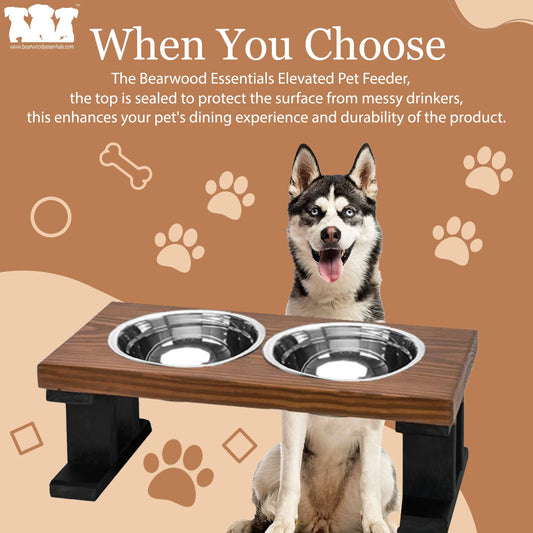
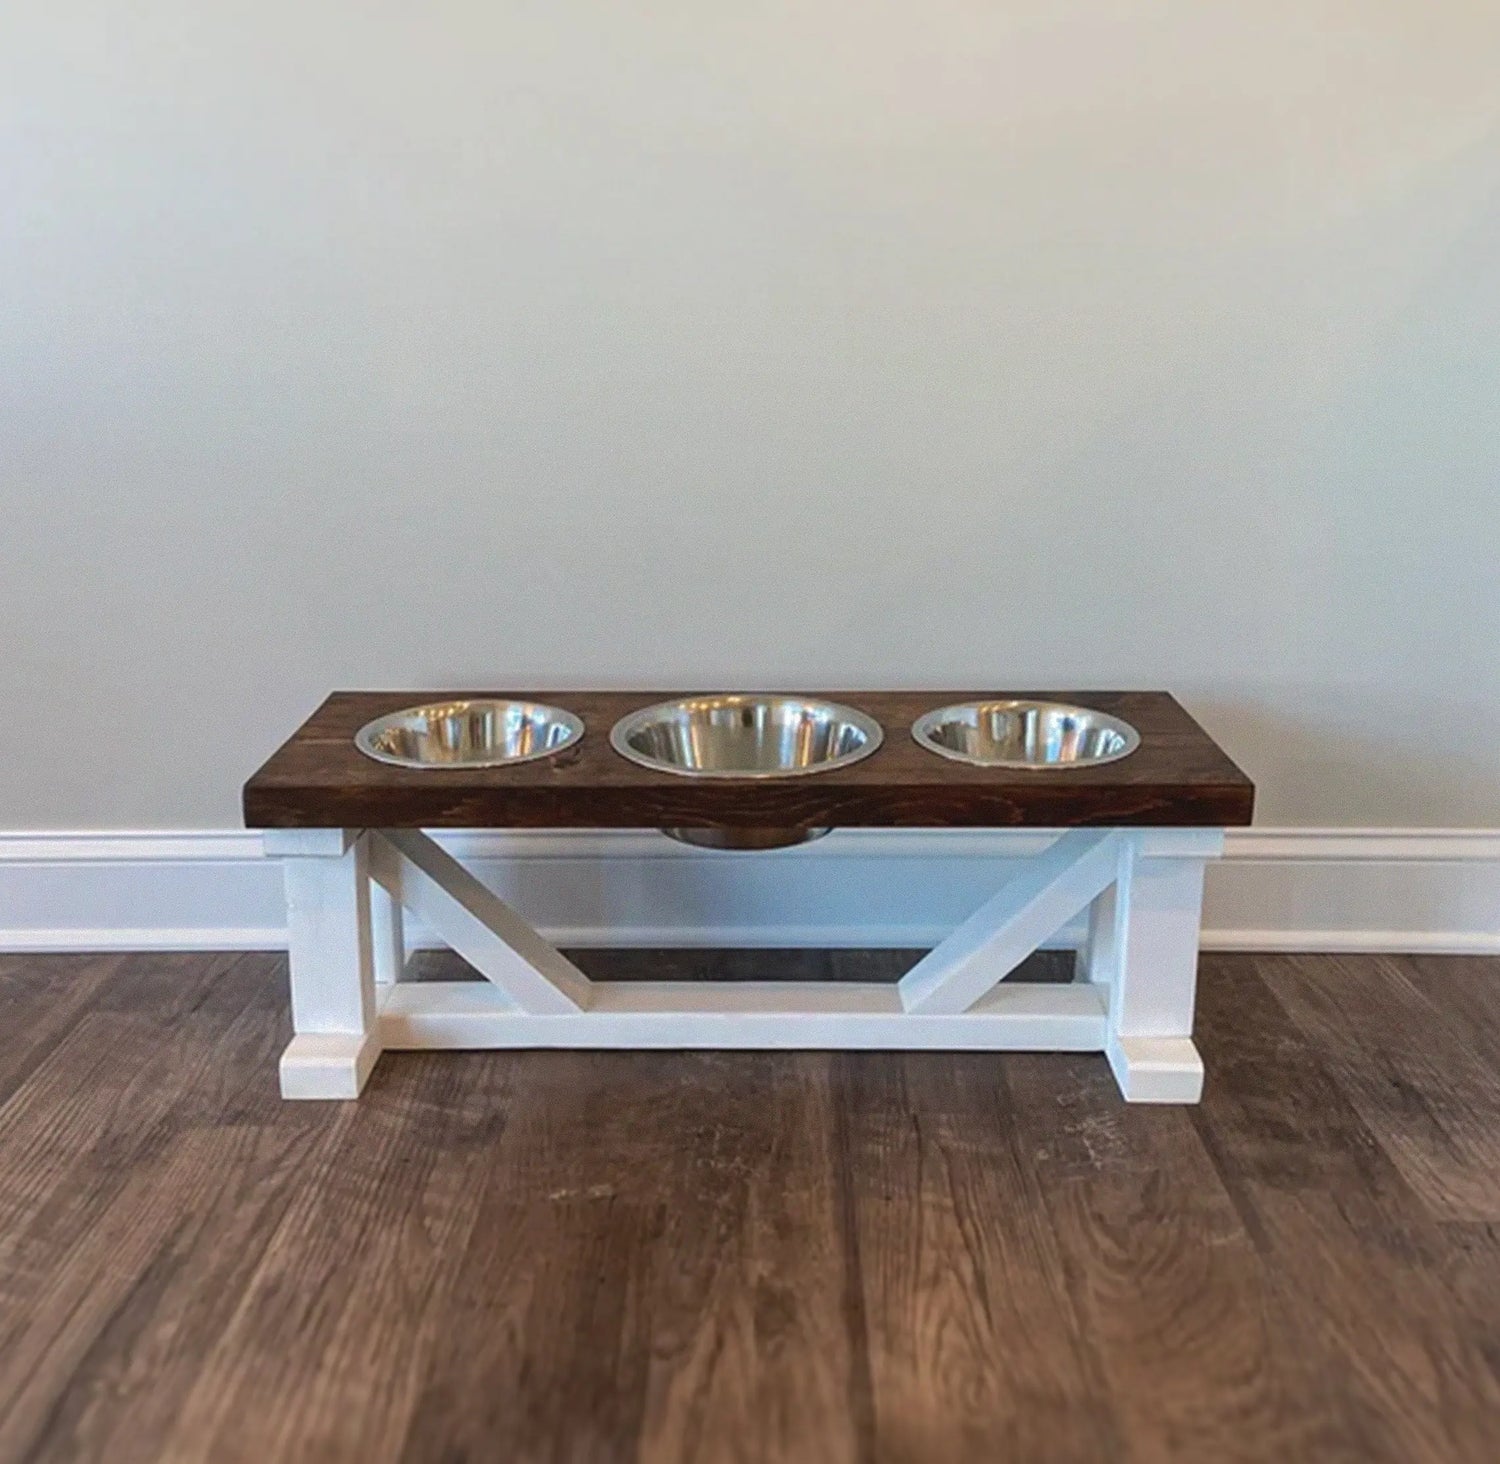
The most practical design principle is separating the bowl material from the wood base entirely. Sealed hardwood bases paired with stainless steel bowls minimize direct water contact with the wood, since spills and splashes hit the steel first. The NMN Designs Indus stand applies this principle directly, using a hardwood base topped with removable stainless steel bowls and a no-slip rubber base to prevent tipping. This approach extends the life of the seal significantly because the wood never sits in standing water.
Stand height is the other major design variable. The general rule is that the bowl rim should sit at your dog’s chest height. This reduces neck strain and improves posture during meals, which matters most for larger breeds prone to bloat or joint issues.
Design features worth prioritizing in a sealed dog bowl stand:
- Removable stainless steel or ceramic bowls that lift out for dishwasher cleaning
- A no-slip rubber base or anti-slip feet to prevent the stand from sliding on hardwood or tile floors
- Smooth, rounded edges on the wood frame that hold sealant better than sharp corners
- A finish certified for food contact or animal feeding surfaces
- Compact footprint options for smaller breeds and wider platforms for large-breed double feeders
The Bearwoodessentials mango wood holder with stainless steel bowl is a strong example of this design philosophy. The mango wood is sealed and paired with a steel bowl, so the wood never contacts wet food or standing water directly.
How do you maintain a sealed wooden dog bowl stand?
Sealing the stand once is not a permanent solution. Regular maintenance keeps the finish intact and prevents the gradual water damage that shortens the life of any wooden pet feeder.
Daily and weekly cleaning:
- Wipe the wood surface with a lightly damp cloth after each feeding. Do not soak the wood or let water pool on the surface.
- Avoid bleach-based cleaners, ammonia sprays, or abrasive scrubbers. These break down sealants faster than normal wear.
- Clean the bowls separately in the dishwasher or sink. The bowls take the moisture load so the wood does not have to.
Monitoring for wear:
Watch for white rings, soft spots, or a dull, chalky appearance on the wood surface. These are early signs that the sealant is thinning. Catching wear early means a light sand and one fresh coat is all you need. Waiting until the wood feels rough or shows dark water stains means starting the full process over.
Resealing schedule:
For indoor stands used daily, plan to reseal once every 12 to 18 months. Stands in humid rooms or used outdoors need attention every 6 to 12 months. Elevated stands praised for stability and dishwasher-safe bowls make this maintenance cycle much easier because the bowls never need resealing, only the wood base does.
Pro Tip: Place a silicone mat or waterproof floor mat under the stand to catch any drips or splashes before they reach the floor. This also protects the underside of the stand, which is often the least-sealed surface and the first place water damage appears.
Key takeaways
A properly sealed wooden dog bowl stand requires food-safe finishes applied in multiple coats, with focused attention on edges and joints, followed by a full curing period before pet use.
| Point | Details |
|---|---|
| Choose certified finishes | LFGB-certified or food-safe polyurethane provides the strongest protection for pet feeding surfaces. |
| Apply at least three coats | Multiple thin coats outperform single thick applications for durability and adhesion. |
| Seal edges and joints first | Water enters wood fastest at corners and joints, so these zones need extra finish coverage. |
| Wait for full cure | Polyurethane takes about one month to fully cure; use the stand only after this window closes. |
| Maintain on a schedule | Reseal indoor stands every 12 to 18 months and inspect regularly for early signs of wear. |
What I’ve learned from years of working with sealed wooden feeders
I’ll be honest: the curing time is the part most people get wrong, and it’s the part that matters most. You apply three careful coats, the surface feels hard after 48 hours, and it’s tempting to put the bowls back in and call it done. But solvent evaporation continues for weeks after the surface feels dry. Putting a dog’s food bowl on an uncured polyurethane finish means your dog is eating next to a surface that is still off-gassing. That’s not a risk worth taking.
The other thing I’ve come to appreciate is how much the bowl material changes the equation. When you pair a sealed wood base with stainless steel or ceramic bowls, you’re not asking the wood finish to do all the work. The steel takes the daily abuse of water, food acids, and cleaning chemicals. The wood just needs to look good and stay stable. That’s a much easier job for any sealant.
My honest recommendation for eco-conscious dog owners is to start with a water-based polyurethane if you’re sealing at home. It’s low odor, widely available, and genuinely food-safe once cured. If you want the highest level of protection without the DIY process, look for stands that come pre-sealed with certified finishes. The craftsmanship difference is visible, and the peace of mind is real.
— Kim
Find a durable, sealed wooden dog bowl stand at Bearwoodessentials
If you’d rather skip the DIY process and start with a stand that’s already built and finished to a high standard, Bearwoodessentials has you covered.
Bearwoodessentials crafts handmade elevated pet feeders using quality wood and pet-safe finishes, designed for dog owners who want both durability and style in their home. Every stand is built to reduce moisture contact with the wood and support your dog’s comfort at mealtime. You can also find pet feeder replacement bowls in stainless steel and food-safe materials that fit directly into existing wooden stands. For a complete feeding station, browse the elevated wooden dog bowl stand collection and find the right size for your dog today.
FAQ
What is the safest sealant to use on a wooden dog bowl stand?
Water-based polyurethane and LFGB-certified impregnates are the safest options for sealing a wooden dog bowl stand. Both are approved for food-contact surfaces and become fully safe for pets once the finish has completely cured.
How many coats of sealant does a wooden dog bowl stand need?
A minimum of three coats is recommended for reliable moisture protection on a wooden dog bowl holder. Each coat should be applied thin and sanded lightly between applications for the best adhesion and durability.
How long before my dog can use a sealed wooden stand?
Water-based polyurethane feels dry within hours but requires approximately one month to fully cure before it is safe for regular pet use. Using the stand before full curing means your dog is exposed to a surface that is still releasing solvents.
Where does a wooden dog bowl stand wear out fastest?
Corners, joints, and hardware areas are the weakest points in any sealed wood feeder. Water enters wood fastest at these zones, so extra coats of sealant applied specifically to edges and joints extend the life of the finish significantly.
Do I need to reseal a wooden dog bowl stand every year?
Indoor stands used daily typically need resealing every 12 to 18 months. Stands in humid environments or used outdoors need attention every 6 to 12 months to maintain a waterproof barrier and prevent wood damage.