
A wobbly elevated dog feeder is defined as a raised pet feeding stand that shifts, slides, or rocks during mealtimes due to loose joints, insufficient friction, or an uneven floor surface. To stabilize wobbly elevated dog feeder setups, you need to address three root causes: structural joint failure, inadequate ground contact, and floor irregularities. Each cause has a specific fix, and combining all three delivers the most reliable result. Bearwoodessentials designs its handcrafted wooden and metal feeders with stability in mind, but even the best feeder benefits from proper setup and routine maintenance. This guide walks you through every step.
Why does my elevated dog feeder wobble?
A wobbly feeder almost always traces back to one of three problems. Soft or uneven surfaces cause feeder legs to shift or sink under load, especially on hardwood floors, tile, or patios. Loose or failed joints weaken the stand’s frame over time. Insufficient friction between the feeder feet and the floor lets the whole unit slide when your dog pushes against it.
Bowl clatter is a separate issue from stand wobble. A stand can be perfectly still while the bowls rattle inside their cutouts. Treating these as one problem leads to fixes that only solve half the situation. Identifying which type of instability you have before reaching for tools saves time and money.
To diagnose the problem, press down on each corner of the stand and rock it gently. If it tips, the legs are uneven or the floor is not flat. If the frame flexes, the joints are loose. If the whole unit slides without tipping, friction is the issue. If you hear rattling when the stand is still, the bowls are the source.
What materials and tools do you need to fix feeder wobble?
Gathering the right supplies before you start makes the repair faster and cleaner. The table below covers everything you are likely to need.
| Item | Purpose |
|---|---|
| Wood-grade adhesive (PVA or carpenter’s glue) | Re-gluing failed joints on wooden feeders |
| Screwdriver and adjustable wrench | Tightening loose screws and bolts |
| Rubber furniture pads or silicone feet | Adding friction under feeder legs |
| Non-slip shelf liner | Lining bowl cutouts to stop rattling |
| Shims or adjustable leveling feet | Correcting uneven leg height |
| Clamps (bar or C-clamps) | Holding re-glued joints during curing |
| Carpenter’s level | Checking whether the stand sits flat |
| Sandpaper (120-grit) | Roughing up surfaces before re-gluing |
| Damp cloth and isopropyl alcohol | Cleaning joints before adhesive application |
| Dust mask | Protecting yourself during sanding |
Most of these items cost very little and are available at any hardware store. Non-slip mats, rubber pads, and shims are the most frequently needed supplies, so pick up extras. You will use them again during routine maintenance.
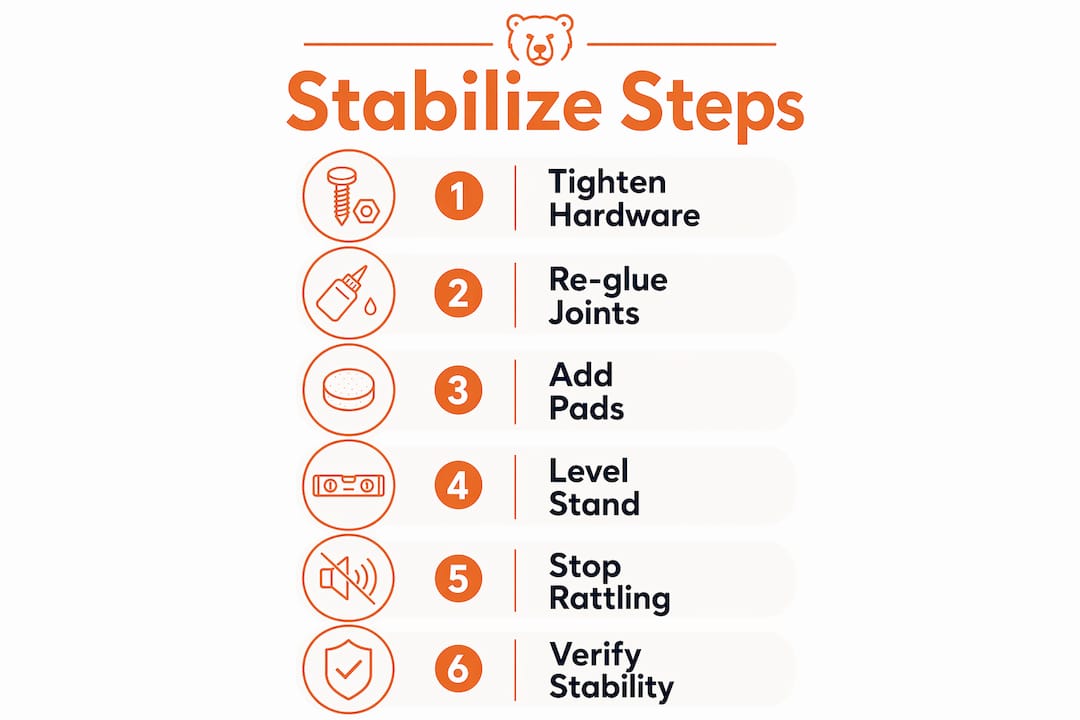
Step-by-step methods to stabilize your elevated feeder and prevent sliding
Work through these steps in order. Structural repairs come first because adding friction pads to a frame with failed joints only delays the real fix.
Step 1: Tighten all hardware
Start by checking every screw, bolt, and fastener on the stand. Tighten each one with the appropriate screwdriver or wrench. Do not over-tighten, as this can strip wood threads or crack joints. If a screw spins without gripping, the hole is stripped. Fill it with a wooden toothpick and a drop of wood glue, let it cure fully, then re-drive the screw.
Step 2: Re-glue failed joints
Tightening hardware is only a temporary fix if the glue has failed. You need to clean the joint, apply fresh wood-grade adhesive, and clamp it. Use a damp cloth and isopropyl alcohol to remove old glue residue from both surfaces. Apply a thin, even coat of PVA or carpenter’s glue, press the joint together firmly, and secure it with clamps. Wood glue reapplication requires full curing under clamps for hours to days depending on the product. Skipping or shortening the curing time weakens the joint just as much as skipping the glue entirely.
Pro Tip: Sand the mating surfaces lightly with 120-grit sandpaper before applying glue. Rougher surfaces give the adhesive more to grip, which produces a stronger bond.
Step 3: Add rubber or silicone pads to feeder legs
Rubber furniture pads on feeder legs prevent sliding and protect your floors. They are inexpensive and make a noticeable difference during mealtimes when your dog pushes the stand forward. Peel-and-stick rubber pads work on most wooden and metal leg bases. For feeders with round legs, silicone ring caps fit snugly and stay in place better than flat pads. Press each pad firmly onto a clean, dry leg surface for maximum adhesion.
Step 4: Level the stand with shims or adjustable feet
Place a carpenter’s level on top of the feeder stand. If it reads uneven, the floor is sloped or one leg is shorter than the others. Slide a thin shim under the short leg until the bubble centers. Adhesive-backed felt shims work well on smooth floors. If your feeder has adjustable leveling feet, turn them until the stand sits flat. A level feeder prevents your dog from leaning awkwardly to reach the bowl, which matters especially for dogs with arthritis or neck sensitivity.
Step 5: Stop bowl rattling with liner material
Non-slip shelf liner cut into circles and placed inside the bowl cutouts stops bowls from rattling or tipping independently of the stand. Cut the liner slightly smaller than the bowl’s outer diameter so it sits flat without bunching. Thin silicone rings around the bowl rim work equally well. This fix addresses bowl clatter as a separate issue from stand movement, which is the correct approach. A quiet, still feeder makes mealtimes calmer for your dog.
Step 6: Verify stability before returning the feeder to use
Set the feeder back in its spot and press down on each corner again. Rock it gently in all directions. Place the bowls in and push the stand as your dog would during a meal. If nothing moves, the repair is complete. If any wobble remains, identify which step needs revisiting before letting your dog use the feeder.
How do you maintain feeder stability over time?
A one-time fix is not enough. Feeders loosen gradually through daily use, floor vibration, and cleaning. Building a simple maintenance routine keeps the stand stable for years.
-
Check joints and hardware every few weeks. Routine checks for loose screws prevent wobbling from returning between meals. A quick press-and-rock test takes less than a minute.
-
Clean the feeder regularly. Grease and food residue build up under the base and on the feet, reducing friction. Wipe the legs and feet with a damp cloth after each deep clean.
-
Inspect rubber pads for wear. Pads flatten and lose grip over time. Replace them when they feel smooth or start to peel. Fresh pads restore traction immediately.
-
Watch for renewed wobble after floor changes. Moving the feeder to a new room or placing it on a rug introduces new surface variables. Re-level and re-pad as needed.
-
Choose feeders with stability-focused construction. When buying a new stand, look for wide bases, solid joinery, and pre-installed non-slip feet. Bearwoodessentials builds its elevated wooden feeders with these features specifically to reduce wobble from the start.
Safety considerations for elevated dog feeders
Feeder stability connects directly to your dog’s physical health. Elevated feeders help pets with arthritis, neck pain, or large size by reducing the strain of bending to floor level. A wobbly stand undermines that benefit by forcing your dog to brace or shift while eating.
Keep the feeder height comfortable so your dog’s neck stays neutral during meals. The bowl rim should sit at roughly chest height for most dogs. If you are unsure about the right height for your dog’s specific condition, a brief conversation with your vet gives you a reliable measurement.
Use only pet-safe, non-toxic materials for any friction pads or liners that contact the feeder. Most rubber furniture pads and food-grade silicone products meet this standard, but check the label before purchasing. Avoid over-tightening joints on wooden feeders. Excessive torque cracks the wood and creates new weak points that are harder to repair than the original loose joint.
Use bowls that fit snugly within the stand’s cutouts. A bowl that is too small rattles constantly and can tip, spilling water or food. Bearwoodessentials offers pet feeder replacement bowls sized to fit its stands precisely, which eliminates the fit-related rattling problem entirely.
Key Takeaways
Stabilizing an elevated dog feeder requires fixing structural joints first, then adding friction pads, and finally leveling the base for lasting results.
| Point | Details |
|---|---|
| Fix joints before adding pads | Re-glue and clamp failed joints before applying friction materials for lasting stability. |
| Use rubber pads on all legs | Peel-and-stick rubber or silicone pads prevent sliding on hardwood, tile, and smooth floors. |
| Address bowl rattle separately | Cut non-slip liner circles for bowl cutouts to stop clatter independent of stand movement. |
| Level the stand with shims | A carpenter’s level and thin shims correct uneven legs and sloped floor surfaces. |
| Maintain every few weeks | Check hardware, clean feet, and replace worn pads regularly to prevent wobble from returning. |
What I’ve learned from fixing wobbly feeders firsthand
The most common mistake I see is skipping straight to rubber pads without checking the joints first. Pads do a great job of preventing sliding, but they cannot compensate for a frame that flexes at the corners. The wobble comes back within days, and the owner assumes the pads failed. They did not. The joint was the problem all along.
The fix that surprises people most is the shelf liner inside the bowl cutouts. Owners focus entirely on the stand and never think about the bowls moving independently. Once they add that liner, the whole feeding setup goes quiet. Dogs visibly relax when the clattering stops. It is a small change with a noticeable effect on mealtime behavior.
Re-gluing joints feels intimidating if you have never done it, but it is genuinely straightforward. Clean the surfaces, apply glue, clamp, and wait. The waiting is the hardest part. Rushing the cure is the single most common reason a re-glued joint fails again. Give it the full time the adhesive manufacturer recommends, even if that means your dog eats from a temporary bowl on the floor for a day.
Stable feeders matter more than most owners realize. A dog that eats from a rocking, sliding stand is constantly adjusting its posture. Over time, that adds up. Pairing a well-maintained stand with a balanced diet gives your dog the full benefit of elevated feeding. The stand and the food work together.
— Kim
Bearwoodessentials feeders built for stability from day one
If your current feeder needs constant repairs, upgrading to a stand built with stability as a core design feature saves you time and effort in the long run.
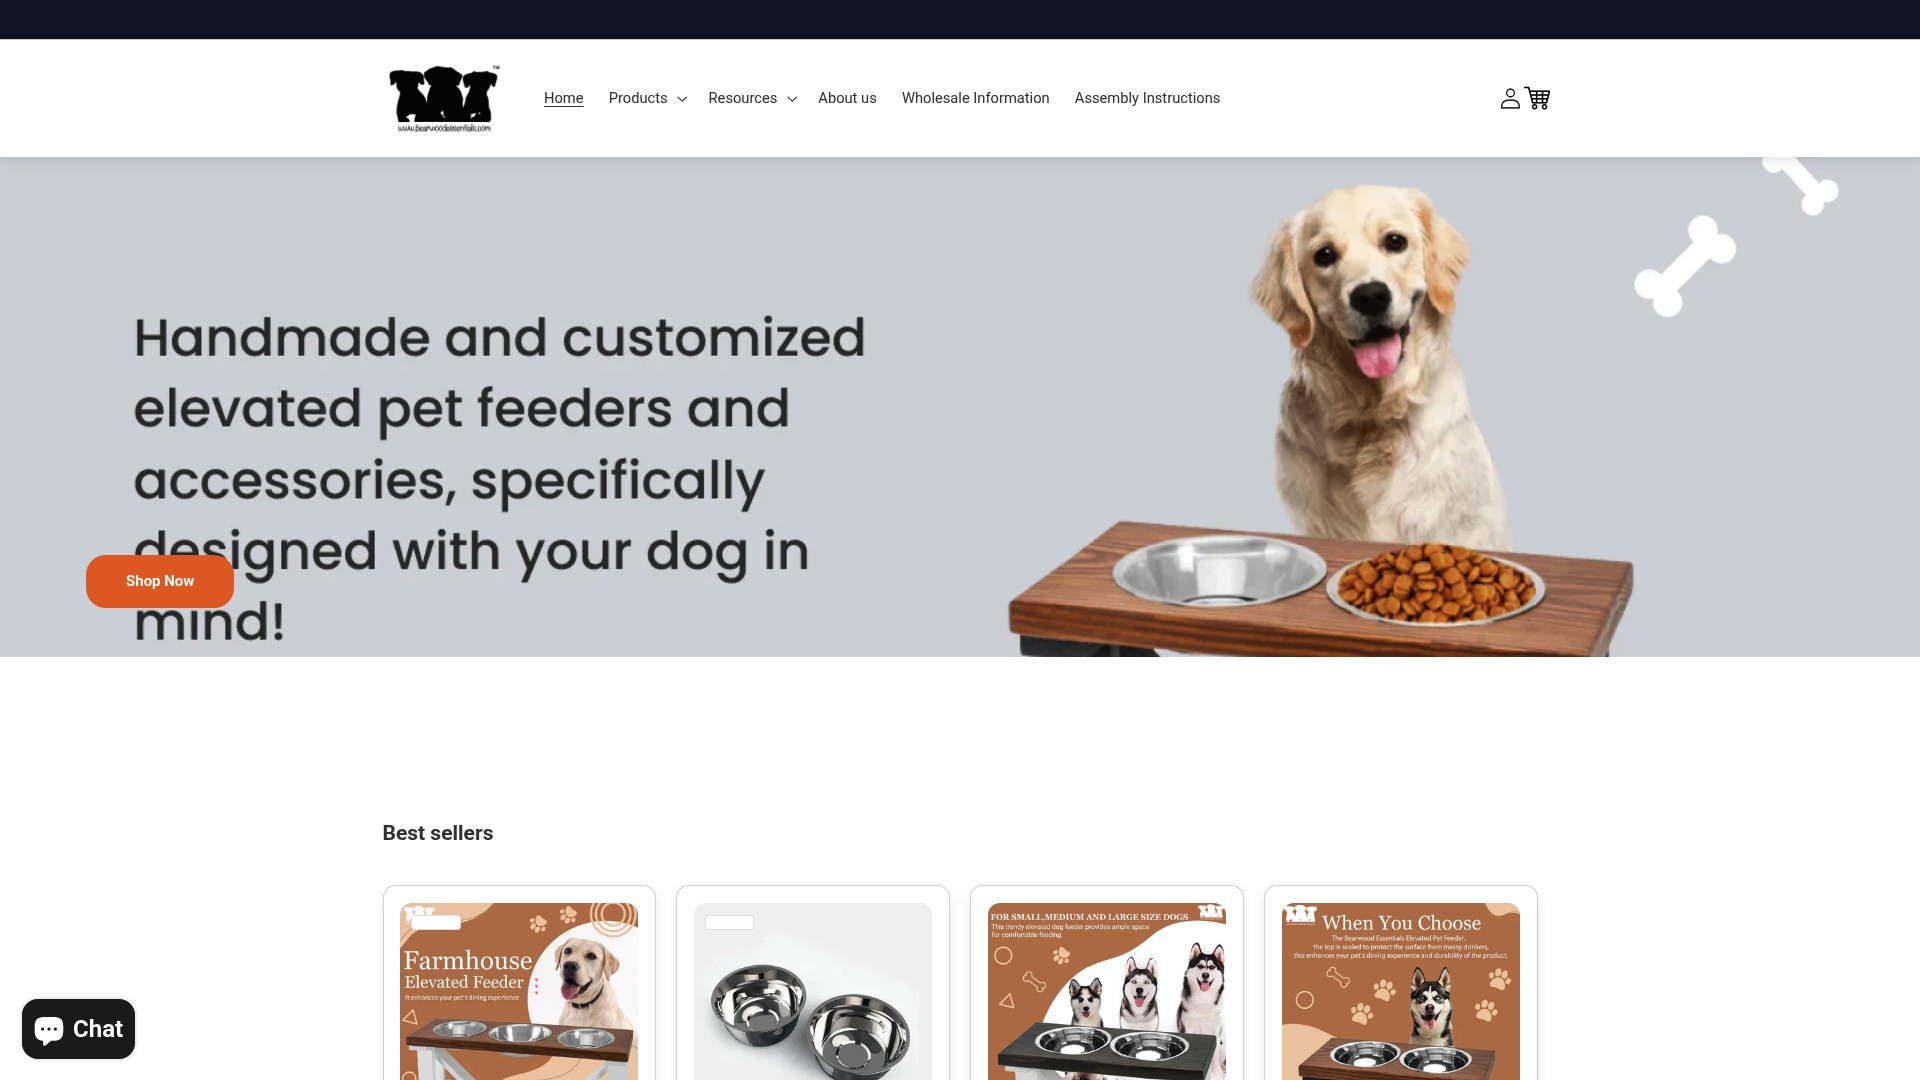
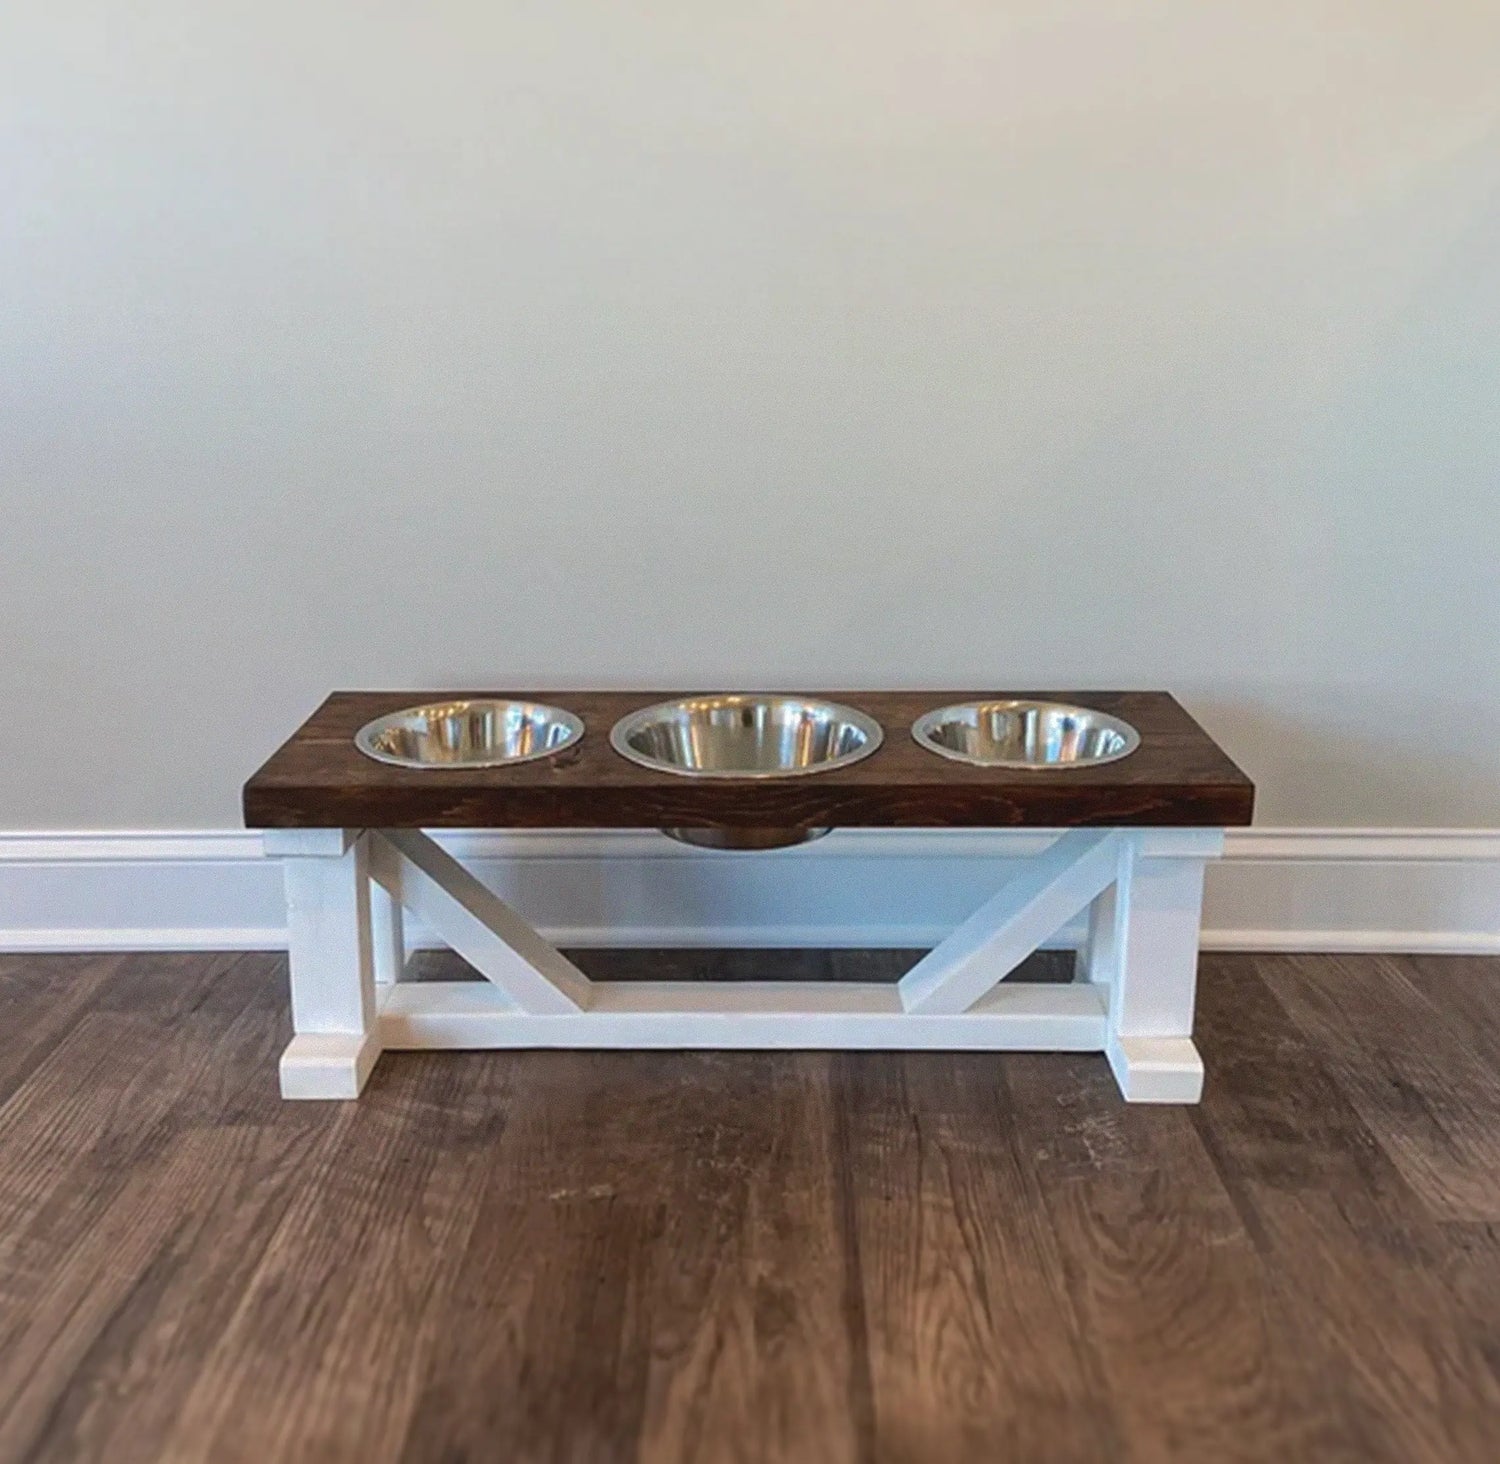
Bearwoodessentials handcrafts elevated pet feeders in wood and metal with wide bases, solid joinery, and pre-fitted non-slip feet. The Large Single Feeder P899 is built for heavier dogs and holds its position during active mealtimes. The Small Single Feeder P901 brings the same construction quality to compact setups. Both are available with replacement bowls sized to fit the cutouts precisely, so rattling is never an issue. Free U.S. shipping applies to qualifying orders.
FAQ
What causes an elevated dog feeder to wobble?
Wobbling in elevated feeders is caused by uneven floor surfaces, loose or failed joints, or insufficient friction between the feeder legs and the floor. Identifying which cause applies to your feeder determines the correct fix.
How do I stop my dog’s feeder from sliding on hardwood floors?
Attach rubber furniture pads or silicone caps to each feeder leg. These pads increase friction between the legs and the floor, anchoring the feeder in place during meals.
How long does wood glue need to cure on a feeder joint?
Wood glue requires full curing under clamps for several hours to multiple days depending on the product. Cutting the curing time short weakens the joint and causes the wobble to return quickly.
Can bowl rattling be fixed without replacing the feeder?
Yes. Cut non-slip shelf liner into circles and place them inside the bowl cutouts. This dampens bowl movement and stops rattling without any structural changes to the stand.
How often should I check my elevated feeder for stability?
Check joints, hardware, and friction pads every few weeks. Regular inspection catches loosening early and prevents wobbling from developing during mealtimes.