
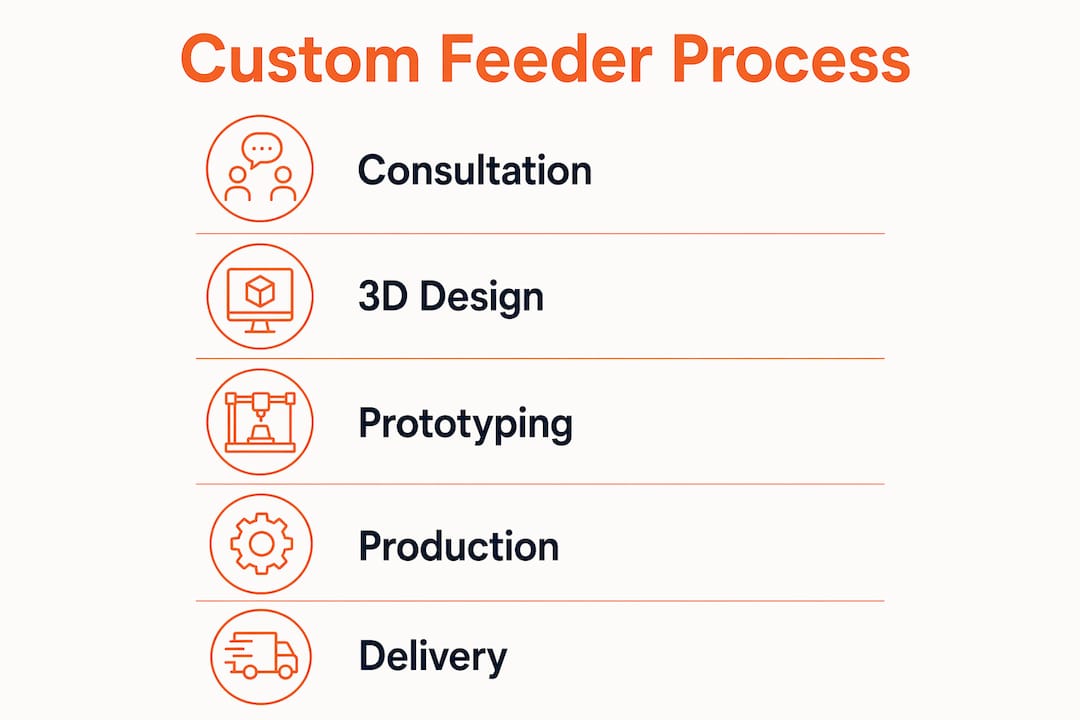
Ordering a custom elevated pet feeder follows a clear four-stage lifecycle: consultation, CAD/design, prototyping and testing, then final production and delivery. Bearwoodessentials guides you through every stage with 3D mockup approvals so nothing gets built until you’ve confirmed the fit looks right for your dog or cat.
Before your consultation, you’ll want to:
-
Measure your pet’s shoulder height, nose-to-floor distance, and chest width
-
Decide on wood, metal, or a combination, and choose your bowl type
-
Schedule a consultation call or send measurements by email to start the design phase
Table of Contents
-
How does the custom feeder sizing process work, step by step?
-
Which materials and bowl options work best for elevated feeders?
-
What does ordering a custom feeder from Bearwoodessentials look like?
-
Why measurement and mockups matter more than most owners expect
-
Ready to start your custom feeder order with Bearwoodessentials?
How does the custom feeder sizing process work, step by step?
Custom feeder projects follow four well-defined stages. Knowing what each one involves helps you prepare the right information and set realistic expectations on time and cost.
Stage 1: Initial consultation (1–2 weeks)
This is where you share your pet’s measurements, feeding posture, environment constraints, and any finish or bowl preferences. A good maker will ask about your pet’s breed, age, and whether they eat standing tall or crouch toward the bowl. Budget and timeline come up here too. Come prepared with photos of your pet eating, since posture tells a maker more than measurements alone.

Stage 2: Engineering and 3D CAD design (1–3 weeks)
Once your specs are confirmed, the designer builds a 3D model of the feeder. You review a visual mockup before any material is cut. Catching a problem at the mockup stage costs nothing to fix; catching it after production can mean starting over. Clients who engage closely during the 3D modeling phase consistently avoid the most expensive late-stage changes.
Pro Tip: Ask for a top-down and side-view render of the mockup. Seeing both angles helps you spot whether the bowl spacing and riser height look proportionate to your pet’s size before a single board is cut.
Stage 3: Prototyping and testing (2–4 weeks)
A physical sample or fit-check mockup is built and tested for stability, bowl fit, and load-bearing under real-use conditions. Prototyping under full-load conditions matters because a feeder that feels stable when empty can shift when a large dog pushes against it. Any adjustments to height, bowl depth, or leg stability happen here, not after delivery.
Stage 4: Final production and delivery (3–8 weeks)
Production begins only after you sign off on the prototype. Finished feeders ship with handoff documentation: 3D specs, replacement-part information, and care instructions. Warranty and support expectations should be confirmed in writing before this stage starts.
Estimated total timeline: consultation through delivery typically runs 7–17 weeks depending on material complexity, finish, and number of bowls.
How do you measure your pet for a custom feeder?
Accurate measurements are the single biggest factor in getting the height and bowl size right the first time. Use a soft tape measure and have your pet stand naturally on a flat floor.
| Measurement | What to measure | Maps to feeder feature |
|---|---|---|
| Shoulder/withers height | Floor to top of shoulder | Riser height baseline |
| Nose-to-floor | Floor to tip of nose, standing | Maximum comfortable reach |
| Comfortable neck extension | Angle at which pet eats without straining | Bowl height fine-tuning |
| Chest width | Widest point across the chest | Bowl spacing on two-bowl stands |
| Bowl preference | Diameter and depth your pet currently uses | Bowl size selection |
Typical ranges by size class:
-
Small dogs and cats (under 20 lbs): riser height roughly 4–6 inches, bowl diameter 5–6 inches
-
Medium dogs (20–50 lbs): riser height roughly 8–12 inches, bowl diameter 6–7 inches
-
Large dogs (50+ lbs): riser height roughly 12–16 inches, bowl diameter 7–9 inches
These are starting ranges, not guarantees. Every dog carries weight differently. Build in 0.5–1 inch of clearance above your calculated riser height so the feeder doesn’t force your pet to stretch upward. Designing for feeder adjustability from the start reduces the risk of rework if your pet’s posture changes with age.
Which materials and bowl options work best for elevated feeders?
Material choice affects durability, washability, safety, and how the feeder looks in your home. Here’s how the main options compare:
-
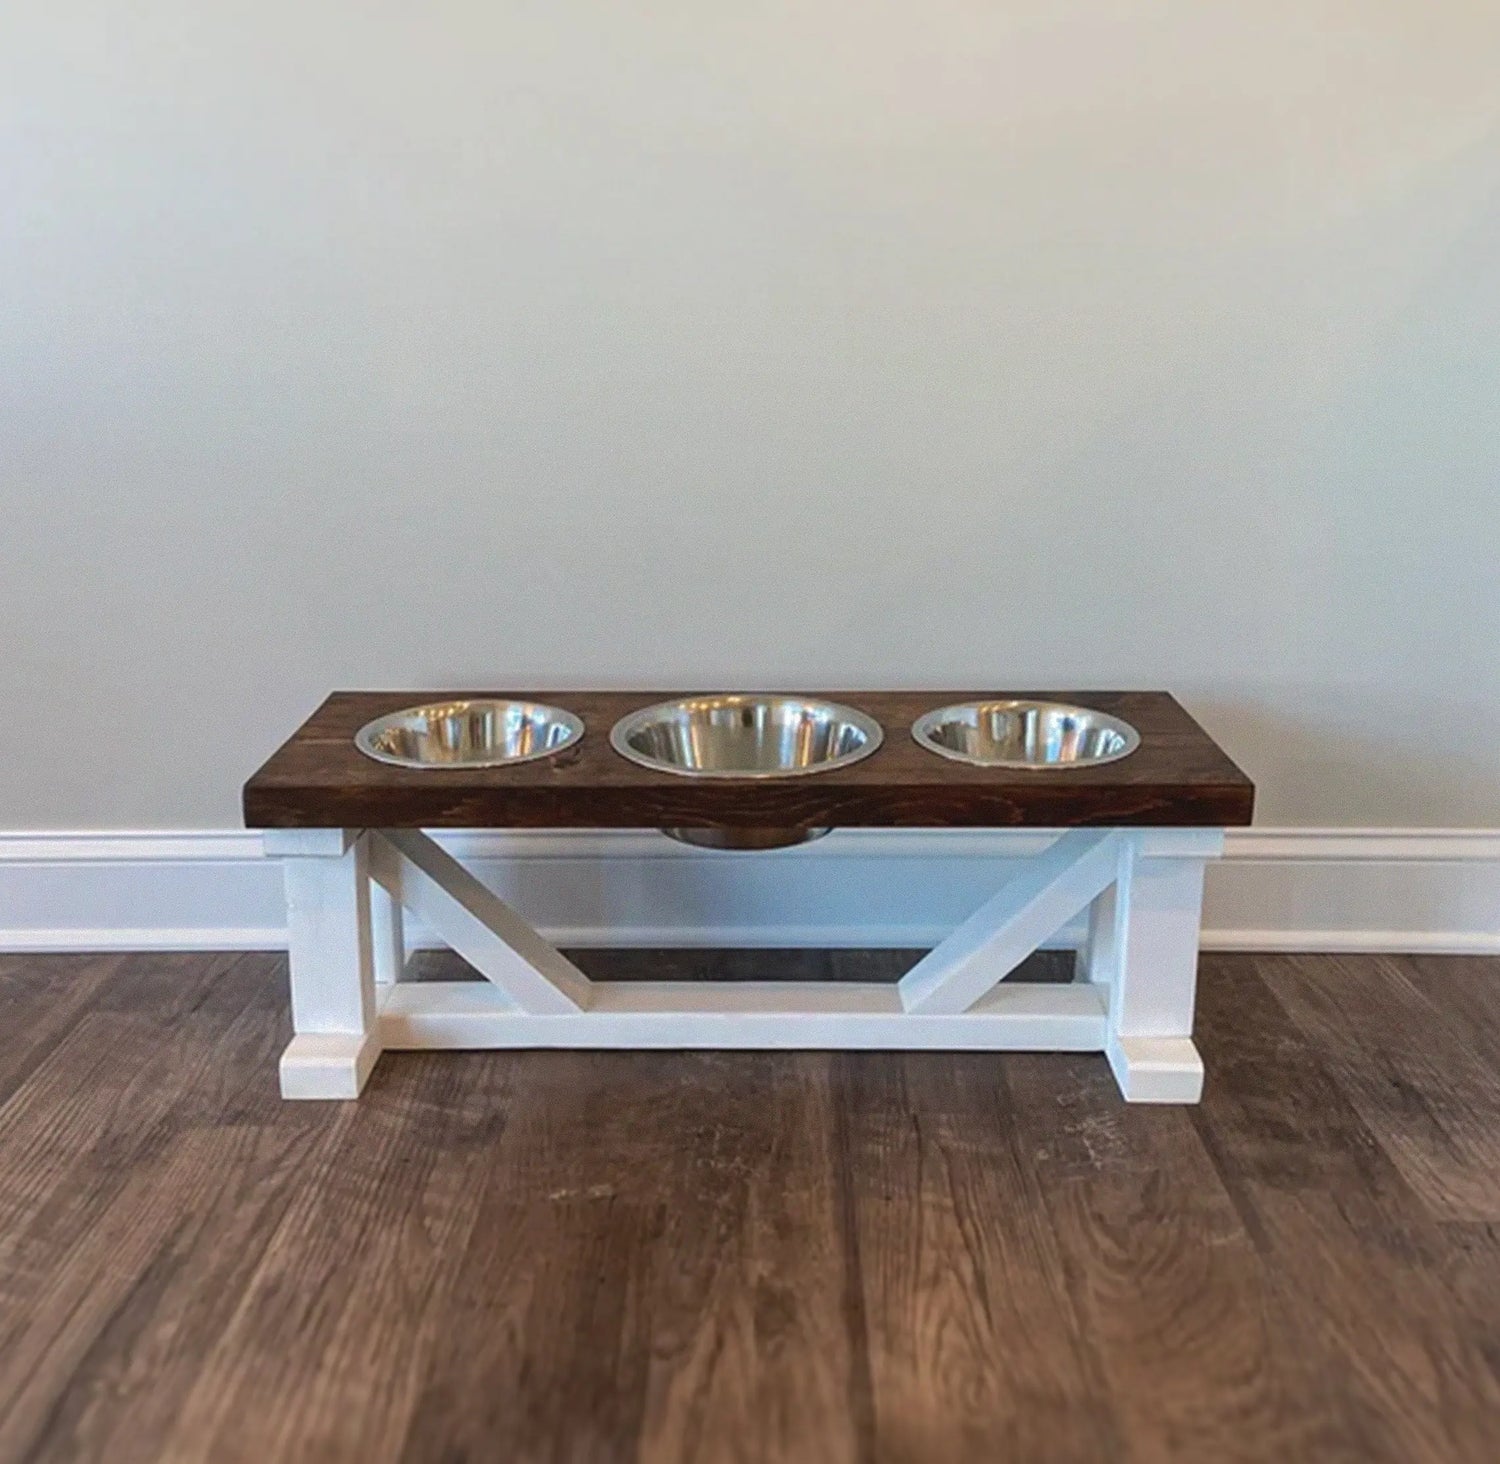
Hardwoods (maple, mango): Dense, durable, and attractive. Mango wood in particular resists warping well in humid environments. A mango wood holder with stainless steel bowl combines the warmth of natural wood with easy-clean metal.
-
Painted or sealed softwoods: Lower cost, but require a food-safe sealer to resist moisture and scratching. Not ideal for heavy chewers.
-
Powder-coated steel: Extremely durable and scratch-resistant. Heavier than wood, which adds stability. Check that the coating is pet-safe and free of heavy metals.
-
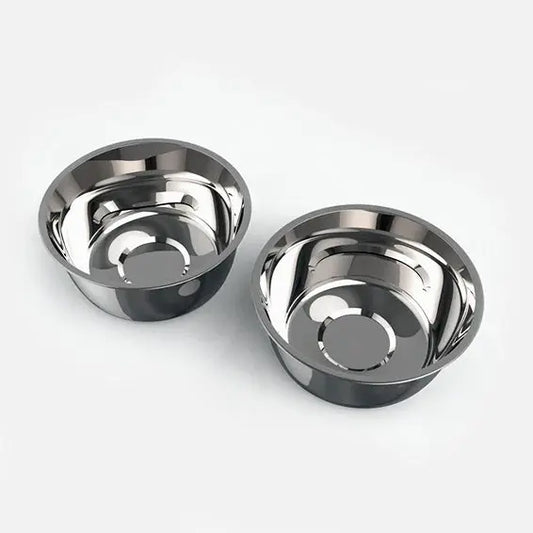
Stainless steel bowls: The gold standard for hygiene. Non-porous, dishwasher-safe, and resistant to bacteria buildup. Pair well with both wood and metal stands.
-
Ceramic bowls: Stable and easy to clean, but breakage risk is real if your dog is enthusiastic at mealtime.
-
Melamine or plastic bowls: Lightweight and inexpensive, but can trap odors over time and are harder to sanitize thoroughly.
Finish tradeoffs matter too. Food-safe sealers protect wood grain without introducing toxins, but they need reapplication over time. Waterproof finishes add longevity, especially in kitchens. If your pet chews the stand, avoid any finish with volatile organic compounds. For a deeper look at finish and cleanability choices, Bearwoodessentials covers the specifics in its design guide.
Pro Tip: Choose a feeder designed with replaceable bowl inserts and modular tooling. When a bowl wears out or you want to switch sizes, you swap the insert rather than replacing the entire stand.
What drives the cost and lead time of a custom feeder?
Cost and timeline both scale with complexity. The main drivers:
| Driver | Effect on cost | Effect on lead time |
|---|---|---|
| Material choice (hardwood vs. softwood vs. metal) | Hardwood and metal cost more | Metal fabrication adds 1–2 weeks |
| Number of bowls | Two-bowl stands cost more than single | Minimal time impact |
| Custom engraving or joinery | Adds labor cost | Adds 1–2 weeks |
| Adjustable legs or anti-tip hardware | Moderate cost increase | Adds design time |
| 3D modeling and prototyping | Upfront cost, lowers rework risk | Adds 2–4 weeks upfront |
Bespoke work requires significant upfront design time before manufacturing begins, which is why the prototyping phase exists. Skipping it to save time often costs more in corrections later. When requesting a quote, ask the maker to scope it clearly: material spec, finish type, bowl count, and whether prototyping is included. Deposit terms typically run 30–50% upfront, with the balance due before shipping. For a full breakdown of how custom finishes affect pricing, Bearwoodessentials publishes detailed guidance on its blog.
What does ordering a custom feeder from Bearwoodessentials look like?
Bearwoodessentials runs the same four-stage process described above, adapted for handcrafted pet feeders. Here’s what to expect:
When you reach out, have ready: your pet’s measurements (shoulder height, nose-to-floor, chest width), a photo of your pet eating, your bowl type preference (stainless steel, ceramic, or replacement-compatible), and any finish or color notes. Bearwoodessentials sends back a mockup approval, a production ETA, and replacement-part documentation with delivery. Replacement-part specs and 3D documentation ship with every finished feeder, so future maintenance is straightforward. Response times for initial consultations are typically within 1–3 business days.
Questions to ask a maker and red flags to watch for
Use this checklist before committing to any custom feeder order:
Questions to ask:
-
What exact measurement spec will you use for riser height and bowl diameter?
-
Can I see a 3D mockup and prototype photos before production starts?
-
What are your runoff or stability test conditions?
-
What is your warranty policy and how do I order replacement parts?
-
What is the deposit structure and when is the balance due?
Red flags:
-
Maker refuses to provide a CAD mockup or prototype photos
-
Quote is a ballpark with no documented scope (materials, finish, bowl count)
-
No written timeline or milestone schedule
-
Full payment required before any design work begins
-
No mention of replacement-part availability or post-delivery support
A well-scoped quote should clarify assumptions like bowl fill level and whether the reported dimensions are interior or exterior measurements. If a vendor can’t answer those questions, that’s a signal to keep looking.
Key Takeaways
The custom feeder sizing process works best when you measure accurately, approve a 3D mockup before production, expect prototyping time, and ask for replacement-part specs at delivery.
| Point | Details |
|---|---|
| Measure before you consult | Bring shoulder height, nose-to-floor, chest width, and a photo of your pet eating. |
| Approve the 3D mockup | Visual approval before production is the cheapest way to catch sizing errors. |
| Budget for prototyping time | Prototyping adds 2–4 weeks but prevents costly rework after delivery. |
| Ask for replacement-part docs | Receiving 3D specs and part numbers at handoff makes future maintenance simple. |
| Start with Bearwoodessentials | Bearwoodessentials delivers mockup approval, a production ETA, and documented replacement-part info with every custom order. |
Why measurement and mockups matter more than most owners expect
Most sizing problems I see come down to one of three things: the feeder is too tall for the dog’s actual eating posture, the bowls are too shallow for a deep-muzzled breed, or the bowls aren’t replaceable so the whole stand has to go when one bowl cracks. None of those are hard problems to solve at the design stage. All of them are expensive to fix after the feeder is built.
The mockup step is where Bearwoodessentials puts the most care. A top-down render catches bowl spacing issues. A side view confirms the riser height matches the pet’s comfortable neck angle. Owners who send a photo of their dog eating rather than just a number almost always end up with a better fit, because posture tells the real story. For more on how Bearwoodessentials approaches bespoke dog feeding station design, the blog walks through the full decision process.
Ready to start your custom feeder order with Bearwoodessentials?
Bearwoodessentials builds handcrafted elevated feeders sized specifically to your pet, with 3D mockup approval before a single piece of material is cut. You get a feeder that fits your dog’s actual posture, not a generic height range, along with replacement-part documentation so the stand lasts for years.
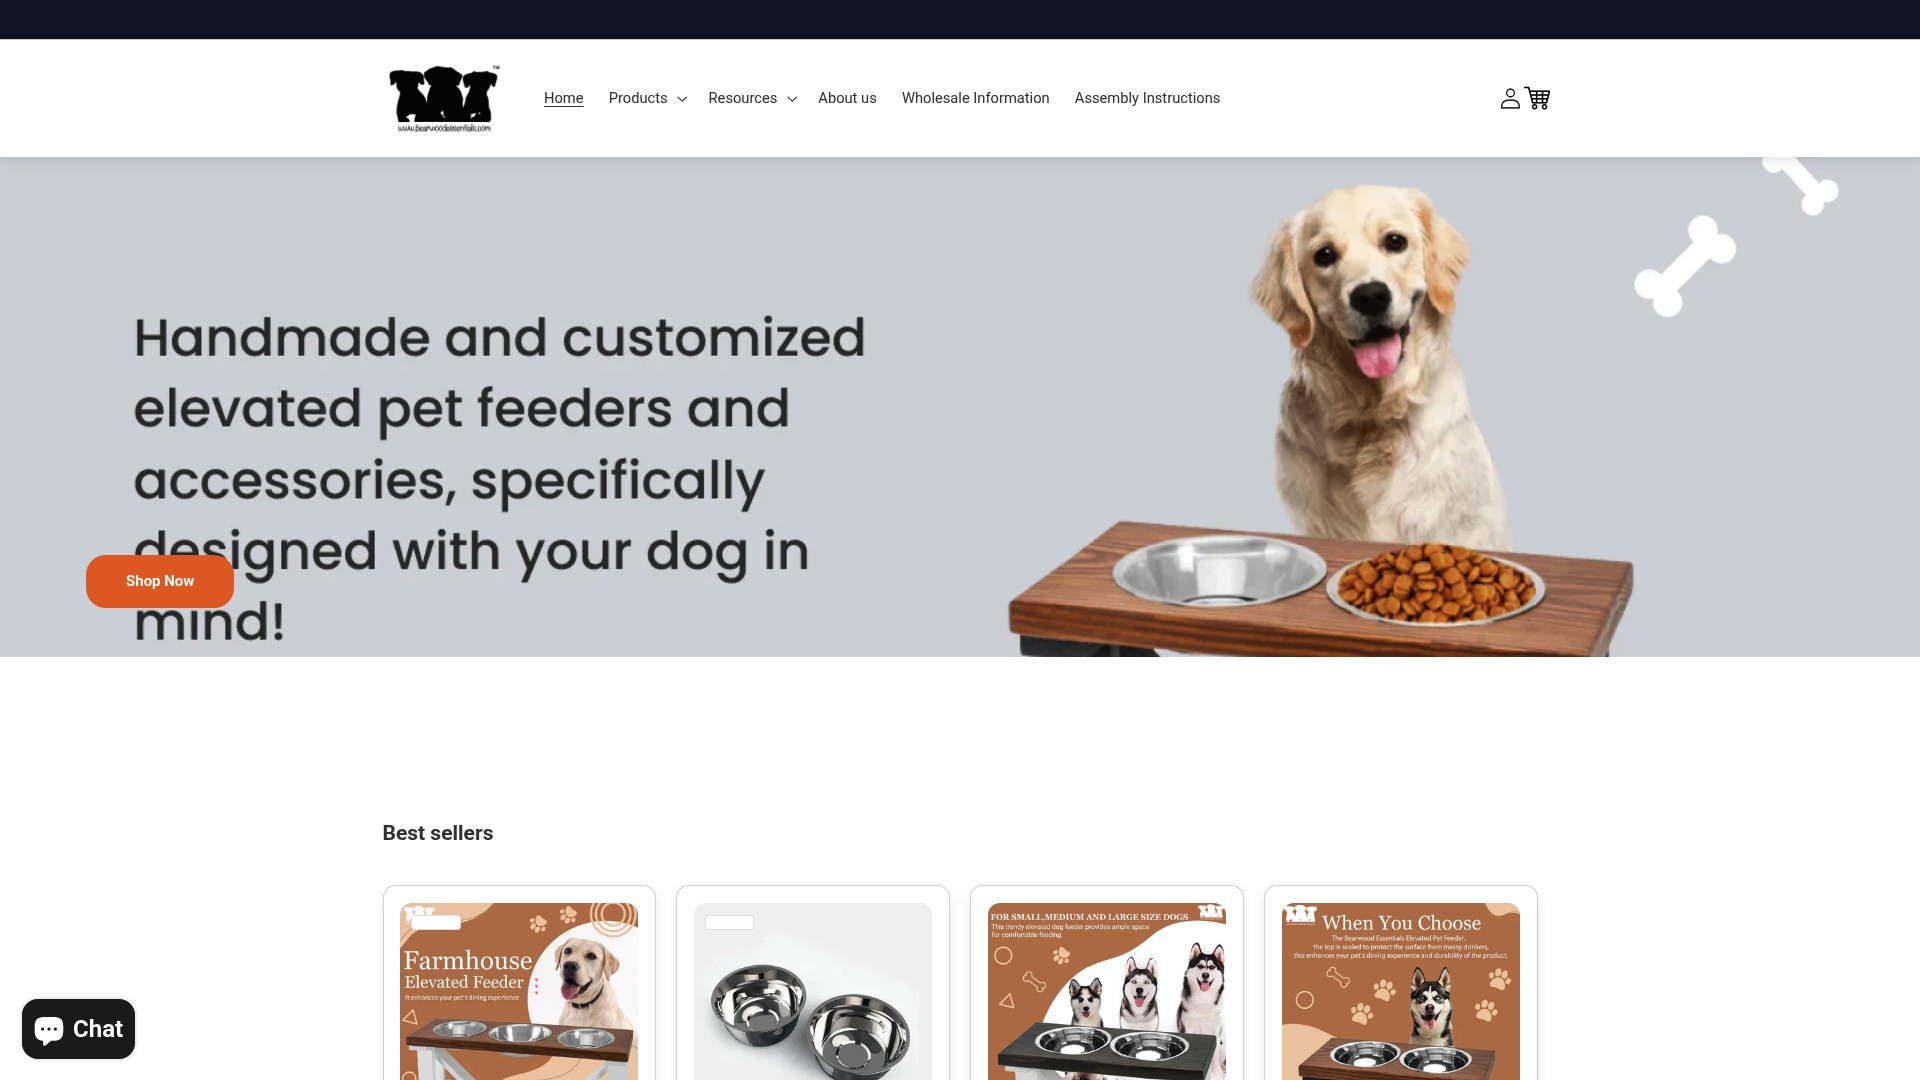
To get started, send your pet’s measurements (shoulder height, nose-to-floor, chest width), a photo of your pet eating, and your bowl preference to the shop. Browse the elevated dog feeder collection or check out the wooden two-bowl stand and the metal elevated feeder to see current examples. If you already have a feeder and need new bowls, replacement bowls are available separately. Reach out through the shop’s contact page to schedule a consultation or send your measurements directly.