

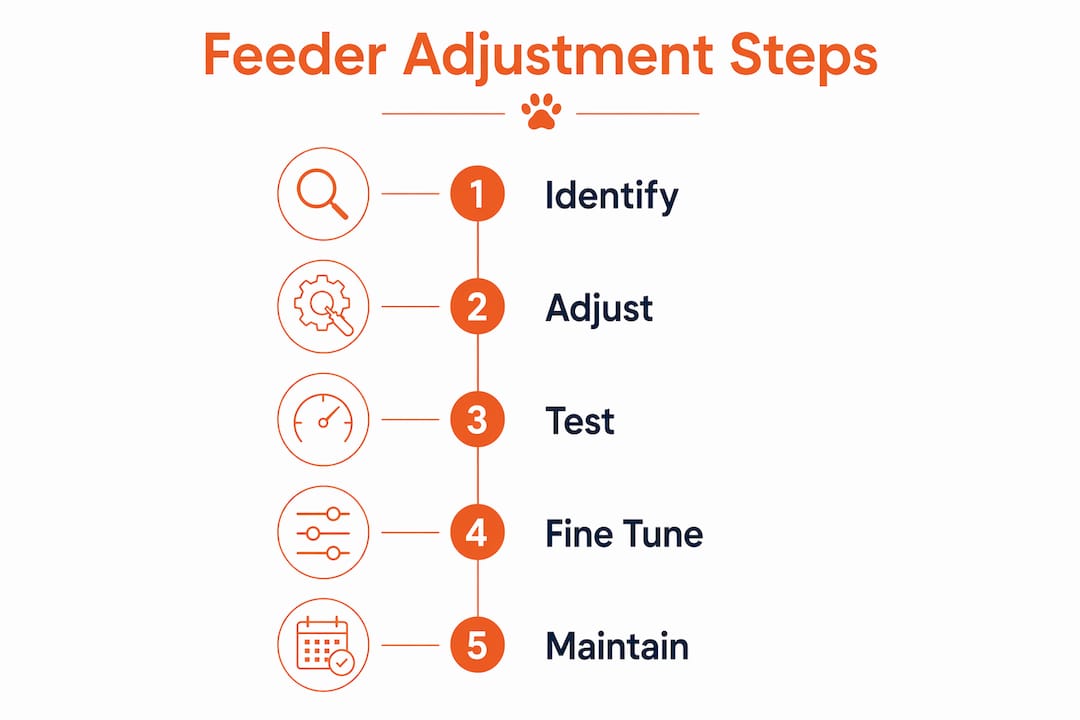
Feeder adjustability is defined as the ability of a pet feeder to change portion size, feed rate, and delivery timing through physical or electronic control mechanisms. Understanding how feeder adjustability works mechanisms is the key to choosing a feeder that keeps your dog healthy, well-fed, and on a consistent schedule. The core mechanism types include mechanical gears and cams, vibration amplitude controls, and electronic timers. Each type controls food delivery differently, and each suits different feeding needs. Getting this right matters more than most dog owners realize.
How feeder adjustability works: mechanisms at the core
Mechanical feeder adjustment relies on changing the physical geometry of moving parts to control how much food moves through the feeder. The most common designs use gear sets, eccentric disks, and cam indexers. A gear-based metering system delivers highly repeatable indexing with accuracy of ±0.05 mm. That level of precision means your dog gets the same portion every single time, with no guesswork.
Eccentric disks and cam indexers work by converting rotational motion into a controlled, repeatable stroke. Rotating the eccentric disk changes the stroke length, which directly changes how much food is pushed through the dispensing channel. Cam indexers add a layer of timing control, pausing and releasing food at set intervals. Together, these parts form the backbone of most mechanical adjustable feeder systems.
Backlash is the hidden enemy of mechanical precision. It refers to the small gap between gear teeth or screw threads that causes settings to drift over time, especially under vibration. Backlash causes adjustment drift and accuracy loss, which means a feeder set for one cup may gradually deliver more or less without any visible change to the dial. High-quality feeders address this with preloaded mechanisms or precision gear swaps.
Key mechanical adjustment features to look for in a pet feeder:
-
Gear-based metering: Delivers consistent, repeatable portion sizes with minimal drift
-
Eccentric disk adjustment: Changes stroke length to increase or decrease food volume per cycle
-
Cam indexers: Control the timing and rhythm of food release
-
Preloaded mechanisms: Reduce backlash and prevent setting drift over time
-
Digital gap readings: Allow precise pinch gap settings for different food sizes and shapes
Pro Tip: Stay within the middle 40–70% of your feeder’s total adjustment range. Optimal adjustment range reduces internal stress on mechanical parts and keeps your settings stable longer.
How do vibration and electronic controls adjust feed delivery?
Vibration-based feeders use a completely different approach. Instead of gears pushing food, they use controlled vibration to move food along a tray or channel. The feed rate is adjusted by changing the amplitude of the vibration, which is controlled by the angle of an eccentric block or by a Variable Frequency Drive (VFD). A VFD controls voltage from 0 to 230V to change vibration intensity in real time. More vibration means faster food flow; less vibration slows it down.
Electronic timers add a scheduling layer on top of the vibration control. You set the feeder to run at specific times and for specific durations, and the motor control handles the rest. This combination is especially useful for dogs on strict feeding schedules or for owners who travel. The timer tells the motor when to run, and the VFD tells it how hard to run.
Different kibble shapes and sizes respond differently to vibration. Larger, irregular pieces need higher amplitude to move consistently. Smaller, uniform pieces flow well at lower settings. Getting this calibration right prevents jamming and ensures your dog’s bowl fills properly every time. Following a structured process makes a real difference.
Here is the step-by-step process for adjusting a vibration-based feeder:
-
Identify your food type. Note the kibble size, shape, and density before touching any settings.
-
Start conservatively. Begin at the lower end of the vibration range to avoid overfeeding on the first cycle.
-
Run a test cycle. A 20-minute test cycle gives you enough data to measure actual output against your target portion.
-
Observe food behavior. Watch for jamming, clumping, or uneven flow during the cycle.
-
Make gradual incremental changes. Adjust in small steps, never jumping more than 10% of the total range at once.
-
Monitor for stability. Run two to three additional cycles after each adjustment to confirm the output is consistent.
Pro Tip: Gradual incremental adjustments prevent equipment stress and give you a clear picture of how each change affects food flow. Rushing the process leads to overfeeding or jamming.
What are the most common feeder adjustment pitfalls?
Backlash and setting drift are the most frequent problems dog owners encounter with mechanical feeders. As noted above, backlash from screw thread gaps causes the feeder to deliver inconsistent portions over time. The fix is either a preloaded mechanism or a regular recalibration check. Checking your feeder’s output against a measured cup once a week takes less than two minutes and catches drift early.
Alignment is just as critical as the internal settings. A feeder that sits on an uneven surface will not dispense food evenly, regardless of how well the internal mechanism is calibrated. Physical alignment and leveling of the entire feeder unit directly affects consistent food flow. Always place your feeder on a flat, stable surface and check the level after any move.
Timing belt tension is a less obvious but serious issue in mechanical feeders with belt-driven components. Misaligned belts or incorrect tension cause timing errors immediately after height or stroke adjustments. Skipped teeth on the belt mean the feeder’s cycle falls out of sync, leading to missed feedings or double portions. After any height adjustment on a belt-driven feeder, always re-check belt tension before the next feeding cycle.
Common pitfalls and how to avoid them:
-
Backlash drift: Recalibrate weekly and choose feeders with preloaded gear mechanisms
-
Uneven surface placement: Use a level to confirm the feeder sits flat before every adjustment
-
Belt tension loss: Re-tension timing belts after any height or stroke change
-
Over-adjustment: Change settings in small steps and run test cycles between each change
-
Skipping maintenance: Follow a regular feeder maintenance schedule to catch wear before it causes feeding errors
Mechanical vs. vibration vs. electronic feeders: which suits your dog?
Choosing the right feeder type depends on your dog’s size, diet, and your daily routine. Each mechanism type has clear strengths and trade-offs. The table below maps the key differences.
| Feature | Mechanical | Vibration | Electronic/Timer |
|---|---|---|---|
| Portion precision | Very high (±0.05 mm) | Moderate | High |
| Ease of adjustment | Moderate | Moderate | Easy |
| Maintenance needs | Regular (belt, gear checks) | Low to moderate | Low |
| Best for | Consistent portion control | Dry kibble flow | Schedule-based feeding |
| Cost range | Moderate to high | Moderate | Low to high |
| Upgrade/modular options | Limited | Moderate | High |
Mechanical feeders suit dog owners who prioritize exact portion sizes above all else. They are the best choice for dogs on weight management diets where even a small daily surplus adds up over months. Vibration feeders work well for large-breed dogs eating high volumes of dry kibble, where smooth, jam-free flow matters more than gram-level accuracy. Electronic timer feeders are the most practical choice for busy owners who need reliable scheduling without complex calibration.
Modularity is worth considering if your dog’s needs will change. Some electronic feeders accept software updates or interchangeable bowl sizes, making them easier to adapt as your dog ages. For elevated feeding setups, ergonomic feeder positioning also affects how well any mechanism type performs. A raised feeder reduces neck strain and keeps the bowl stable during dispensing.
Key Takeaways
Feeder adjustability works through three core mechanism types: mechanical gears and cams, vibration amplitude controls, and electronic timers, each requiring regular calibration to maintain consistent portion delivery.
| Point | Details |
|---|---|
| Mechanical precision | Gear-based systems deliver ±0.05 mm repeatability but require backlash checks to prevent drift. |
| Vibration control | Adjusting eccentric block angle or VFD voltage changes feed rate for different kibble types. |
| Optimal adjustment range | Stay within 40–70% of total adjustment travel to reduce stress and maintain accuracy. |
| Test cycles matter | Run at least a 20-minute test cycle after each adjustment to confirm stable output. |
| Alignment is non-negotiable | A level, stable surface is required for any feeder mechanism to work consistently. |
What I’ve learned from watching feeders fail (and succeed)
The most common mistake I see dog owners make is treating feeder adjustment as a one-time setup. You dial in the portion, walk away, and assume it stays accurate forever. It does not. Material flow properties and component wear change over time, meaning no single static setting maintains consistent throughput. A feeder that was perfect in january may be off by 15% by june, simply because the kibble brand changed or the gear teeth wore slightly.
The second thing I have learned is that over-adjustment is just as damaging as neglect. Dog owners who constantly tweak settings without running test cycles between changes end up chasing a moving target. The right approach is structured: change one variable, run two to three cycles, measure the output, then decide whether to adjust again. Record your settings in a notebook or phone app. This sounds tedious, but it takes five minutes and saves you from weeks of inconsistent feeding.
The feeders that perform best long-term are not always the most technically complex. A well-built elevated wooden feeder with a simple mechanical portion dial, placed on a flat surface and checked weekly, will outperform a poorly maintained electronic feeder every time. The mechanism matters less than the habit of maintaining it. If you are considering an upgrade, focus on build quality and ease of calibration over feature count.
— Kim
Handcrafted feeders worth looking at from Bearwoodessentials
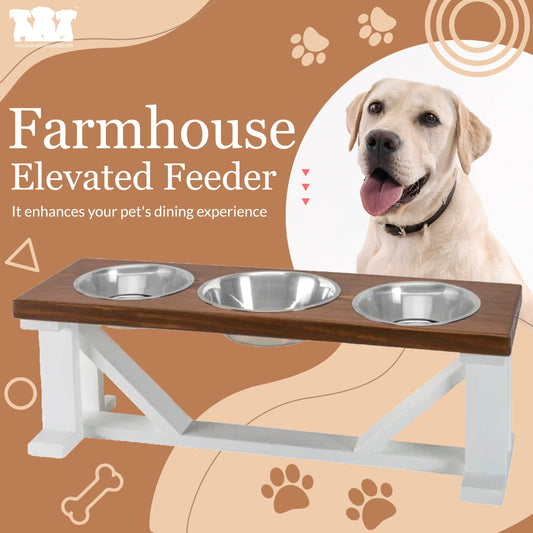
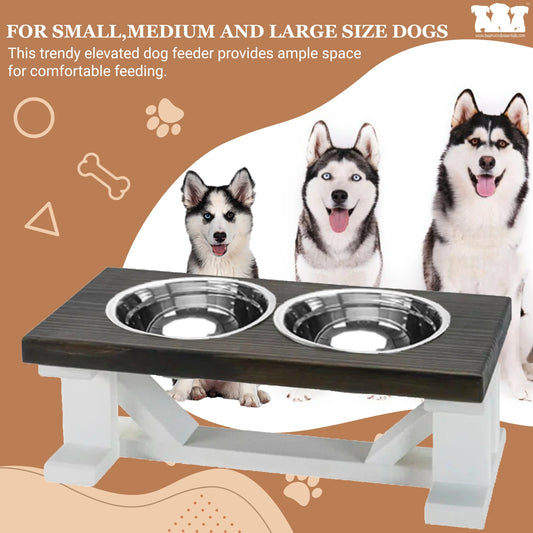
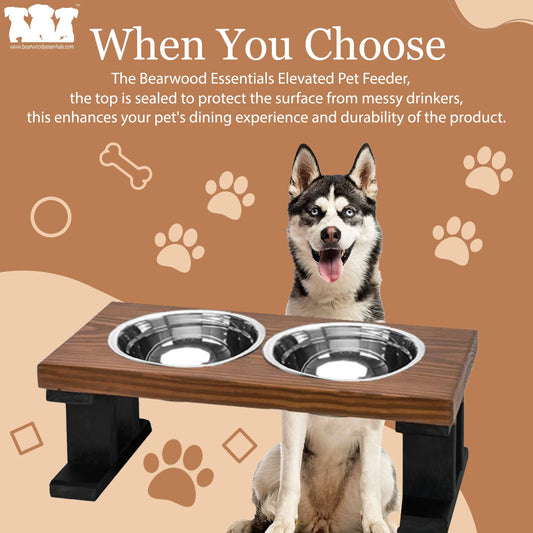
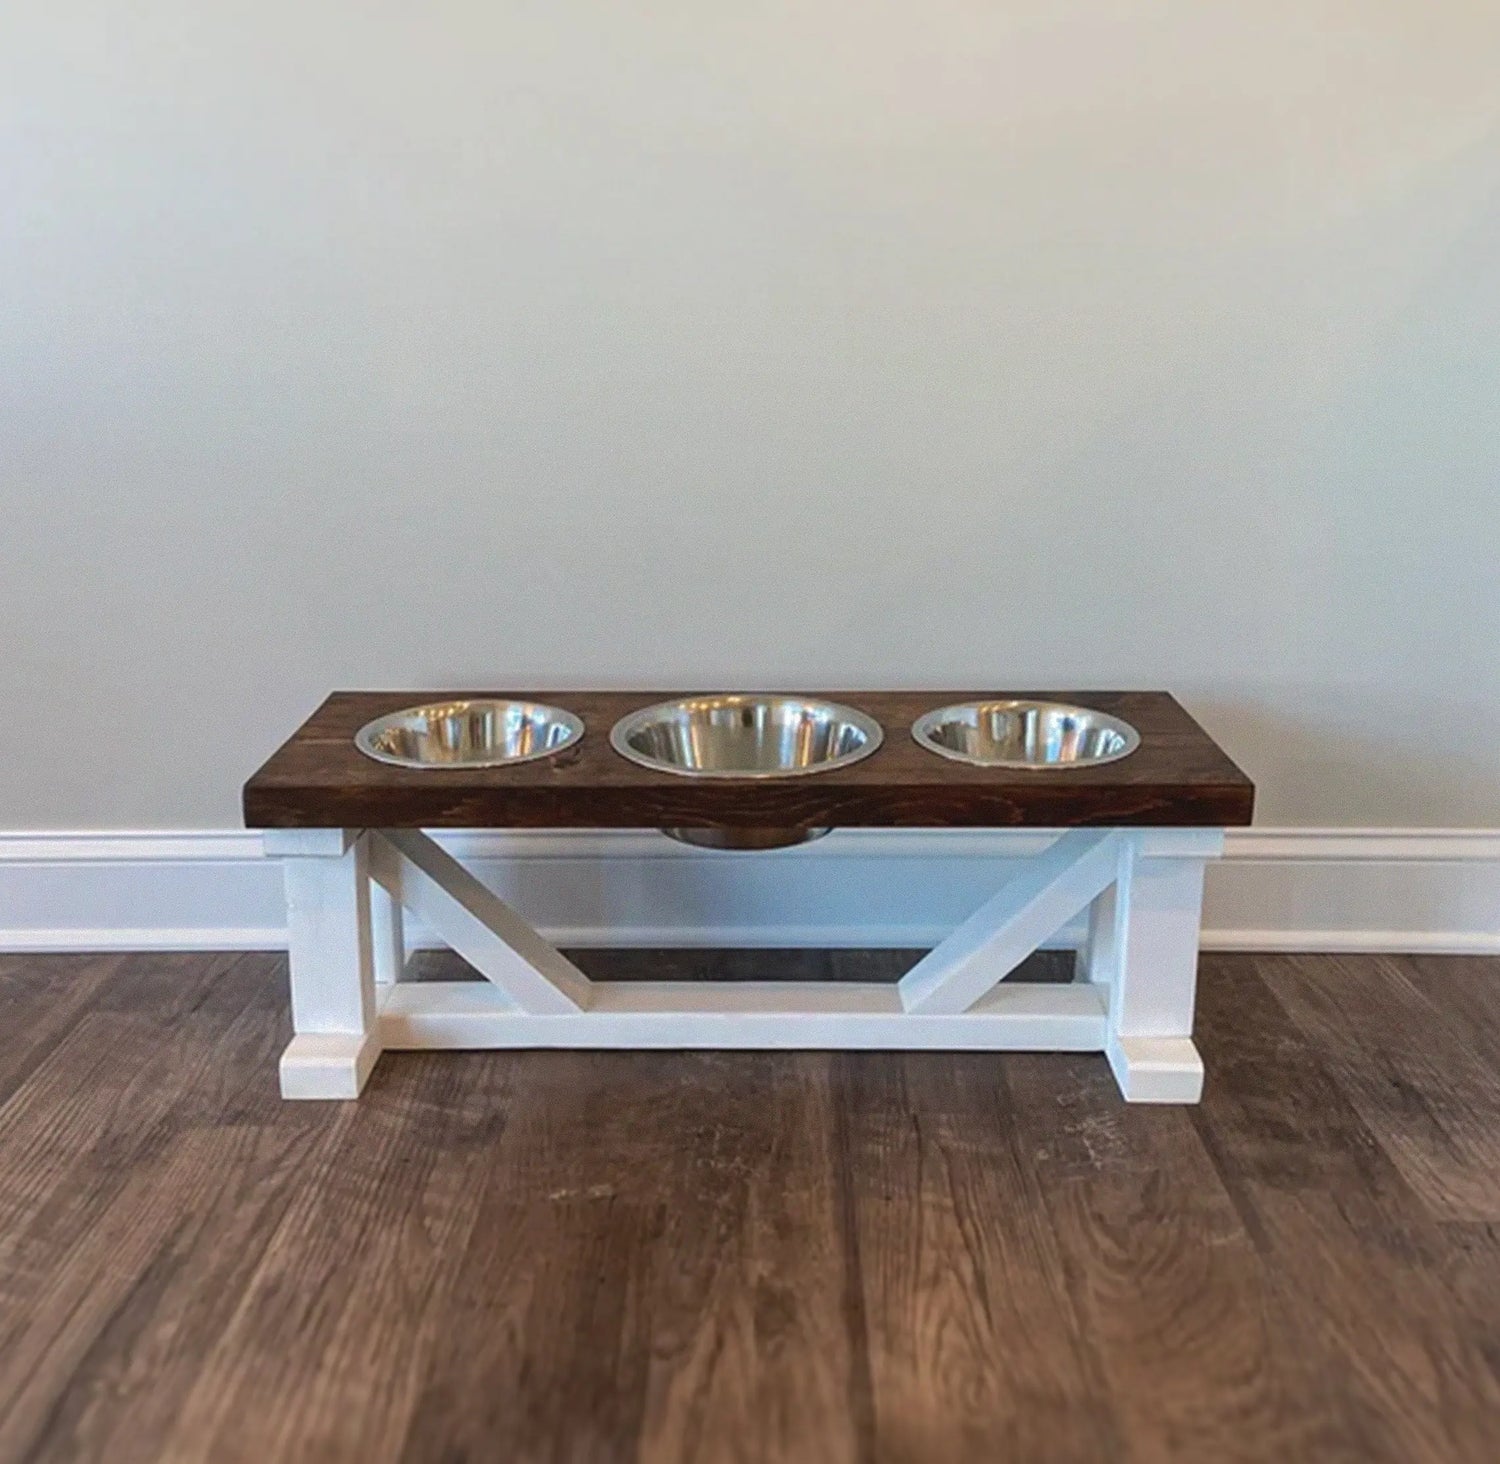
Bearwoodessentials builds elevated pet feeders from wood and metal, with designs that support consistent, comfortable feeding for dogs of all sizes. Each feeder is handcrafted with adjustable height options and bowl configurations that make portion management straightforward.
The handmade metal dog feeder combines a rustic finish with a stable, raised platform that keeps the bowl level during every feeding cycle. For wood lovers, the wooden raised dog feeder pairs stainless steel bowls with a solid stand built for daily use. Bearwoodessentials also carries replacement bowls for easy cleaning and maintenance. Free U.S. shipping applies to qualifying orders.
FAQ
What is a feeder adjustment mechanism?
A feeder adjustment mechanism is the physical or electronic component that controls portion size, feed rate, or feeding schedule in a pet feeder. Common types include gear sets, eccentric disks, cam indexers, VFD controllers, and electronic timers.
How do I adjust a vibration-based pet feeder?
Start at a low vibration setting, run a 20-minute test cycle, observe food flow, then make small incremental changes until the output matches your target portion. Avoid large jumps between settings.
Why does my feeder dispense inconsistent portions?
Backlash in gear teeth or screw threads causes settings to drift over time, especially under vibration. Recalibrate weekly and confirm the feeder sits on a level surface to restore consistent output.
What is the optimal adjustment range for a mechanical feeder?
The optimal zone is 40–70% of the feeder’s total adjustment travel. Staying in this range reduces stress on internal parts and keeps settings stable between calibration checks.
How often should I recalibrate my dog’s feeder?
Recalibrate at least once a week for mechanical feeders and after any change in kibble brand or size. Component wear and changes in food density both affect output over time.